Today I learned how to use sensors with Arduino to read analog signals. Sensors convert physical changes like light or temperature into electrical signals, which Arduino can understand through its analog pins.
Setting Up the Circuit
I started by connecting a sensor to my Arduino board following a simple wiring diagram. Making sure each connection was secure was key, as even small mistakes can affect the readings.
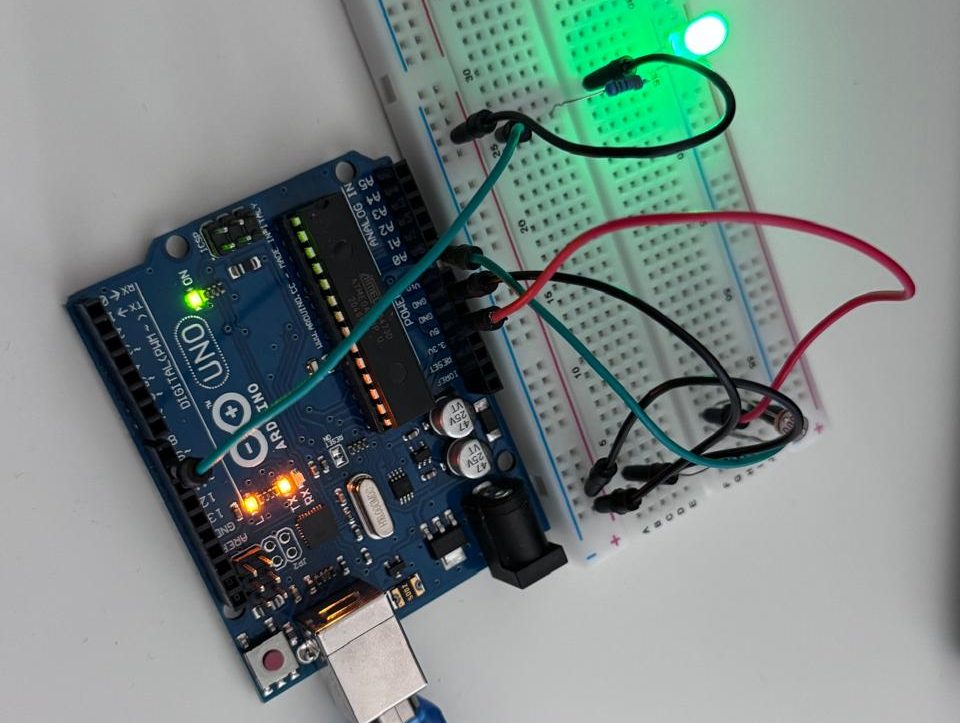
I had connected the sensor and extra light to experiment with the sensor
Writing the Code
Next, I used the Arduino IDE to write a basic program that reads the sensor’s values. By printing the data to the Serial Monitor, I could see the numbers change as I adjusted the sensor’s environment, and also saw light brightness going up and down based on the logic I put in the code. This step showed me how code and hardware work together.

Output: Smart Light Powered By Sensor
Output: Simple Smart Home Automation
Moments: The moment it worked in a real-world experiment, it was pure joy for me to witness it with my own eyes.
This is how the Emerging Technology course from Middlesex University Dubai taught us to bring theories into real life.
Special thanks to our course instructor, Professor Judhi Prasetyo.
What I Learned
- Simple Connections: Accurate wiring is very important.
- Real-Time Data: The sensor readings change in real time, linking the physical world to digital information.
- Hands-On Learning: Practical experiments help make theoretical ideas clear.
This beginner-friendly project was a great introduction to working with sensors and analog inputs. I’m excited to explore more with Arduino and discover how these skills can lead to even more interesting projects.

